… or, how to make an infinity mirror (and only break 2 mirrors in the process)
In early conversations about A Disappearing Number, the team at TimeLine had many long discussions about the idea of infinity, both mathematical and metaphorical. We wanted the lobby experience for this production to recapture some of that sense of childhood wonder when one understands the infinite for the first time.
One of the ideas we discussed for creating that feeling of wonder was an infinity mirror. In my role as Dramaturg for the show, I looked at some images and videos online and thought I could probably build something, but didn’t want to tackle it on my own. My fellow Company Member David Parkes is not only a great actor but also an accomplished wood worker, so I emailed him to ask if he’d tackle this project with me. To my delight, he said yes! We started by watching YouTube videos of others making infinity mirrors. This one is our favorite.
Together, we endured the pitfalls and the broken mirrors so you don’t have to. Below are our instructions for how to build an infinity mirror, plus our recommendations for what not to do!
What you’ll need
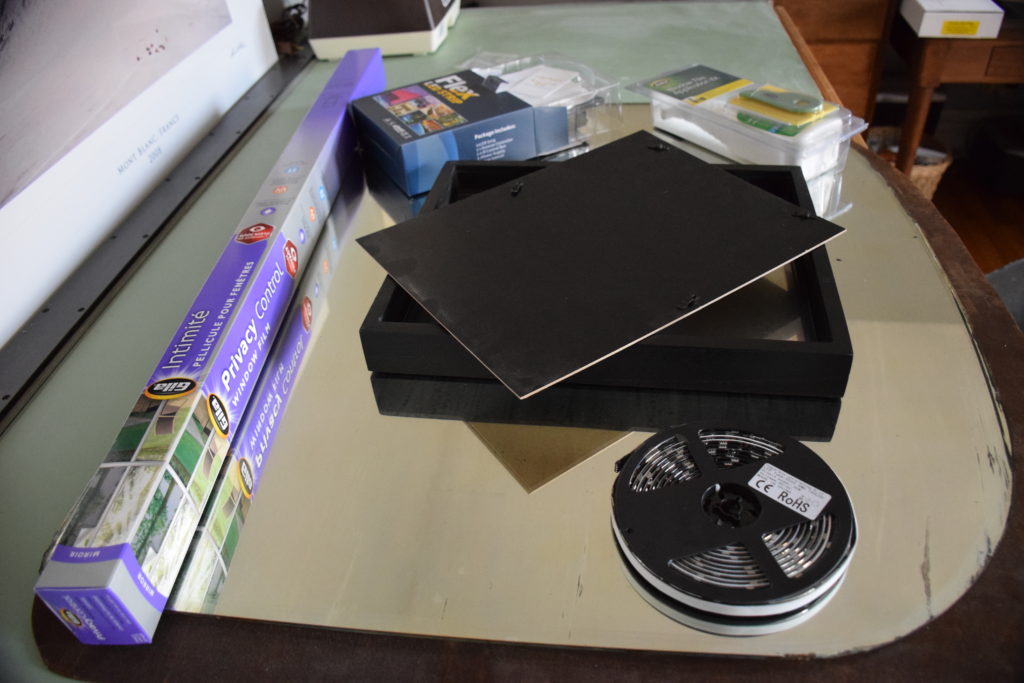
- Picture Frame, with some depth and a glass front (we found glass worked better than Plexiglas)
- Mirror, cut to the same size as the glass (it’s well worth getting this cut so you don’t have to worry about broken mirrors!)
- Mirrored reflective film (we used this brand)
- A squeegee and kit for the mirrored film
- LED lights with adhesive backing (we used this brand)
- Strong glue or epoxy
- A drill or small saw to make a hole in the frame
- Glass cleaner and some kind of lint-free wipe
Some initial road bumps
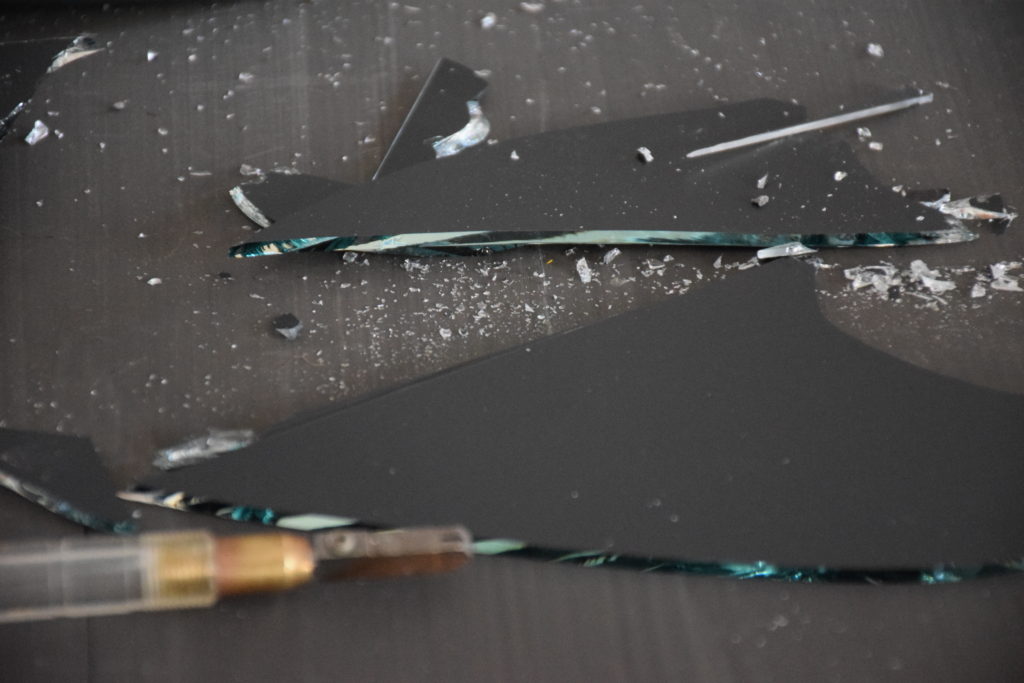
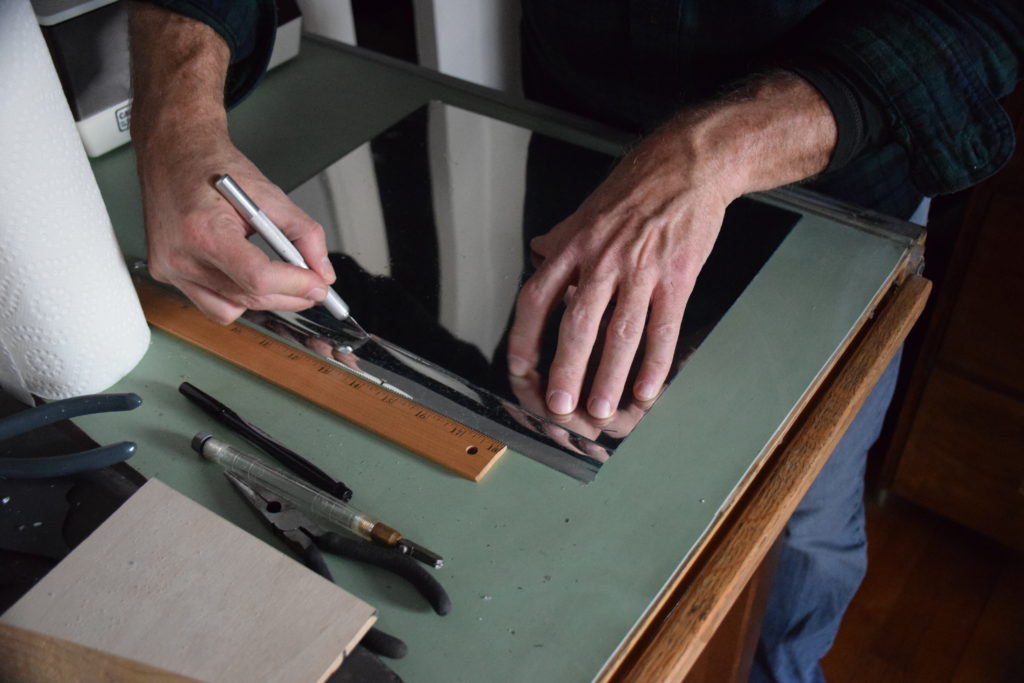
Our first mistake? When we tried to use an existing mirror and cut it to size with David’s glass cutting tools—it was old and thick and broke spectacularly. Our second mistake? Buying a second, cheap mirror to cut to size, discovering it was glued into a plastic frame, trying to cut it out and—you guessed it—breaking it. After a second trip to the hardware store for a third mirror, we succeeded in cutting it to size and fitting it into the frame. Our recommendation is to buy a pre-cut mirror and save yourself the grief.
The Process
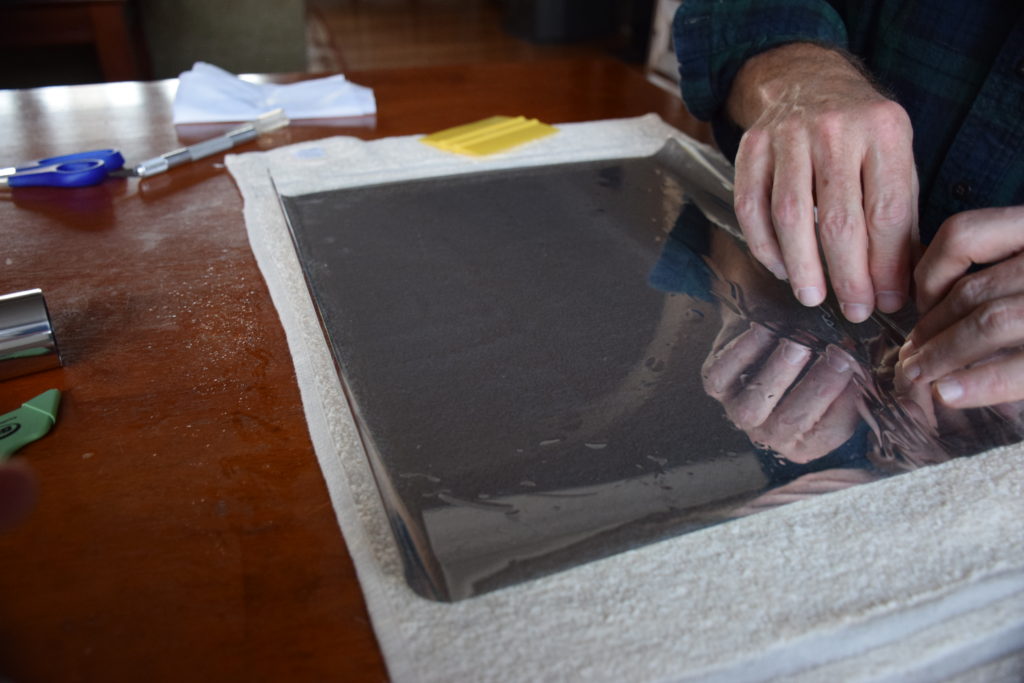
With the mirror cut and installed in the frame, we turned to the front of the box to make the mirrored back for that infinite reflection. First we tried attaching the mirrored film to Plexiglas, but it bubbled quite a bit. We had better luck with a piece of second pre-cut piece of Glad Glass. We spent a long time with a squeegee smoothing out bubbles. Once you get your glass covered, weigh down the edges so the corners don’t curl and let it cure for a bit. After that, you should put it in the front of the frame and clean it off. The side with the reflective film should face into the frame.
Test the strip of LED lights to make sure they work. Measure the four interior edges of the frame and cut that length of LED lights equal to or slightly longer than the four sides. You will have to cut the lights on a specific line of metal in the LED strip so as not to break the circuit (the LED packaging came with several helpful hints!). You may have to cut a strip a bit longer than the length of the frame to make sure the circuit remains complete. We covered our extra bits with black electrical tape.
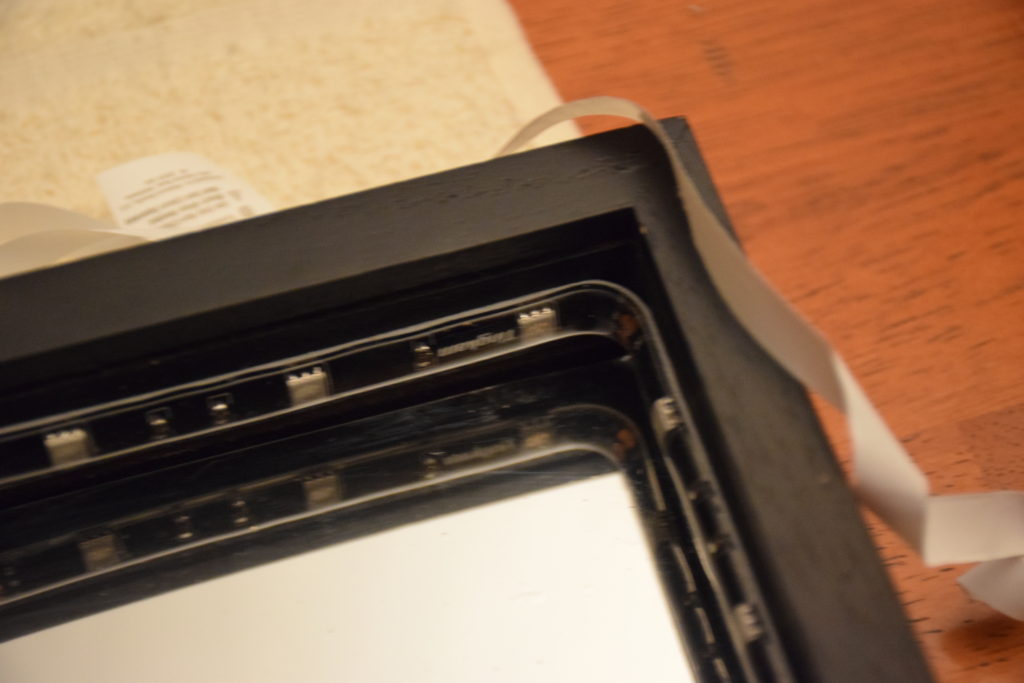
Drill or cut a hole in your frame to accommodate the cord. Without removing the backing to the adhesive, run the LED cord into the box and plug the LED strip around the interior of the frame to make sure the cord plugs into the LED strip securely. Remove the backing of the LED strip and adhere it to the inside of the frame, close to the mirrored glass. We recommend putting a piece of tape on the connection between the LED strip and the plug so the connection doesn’t come loose if you hang the mirror.
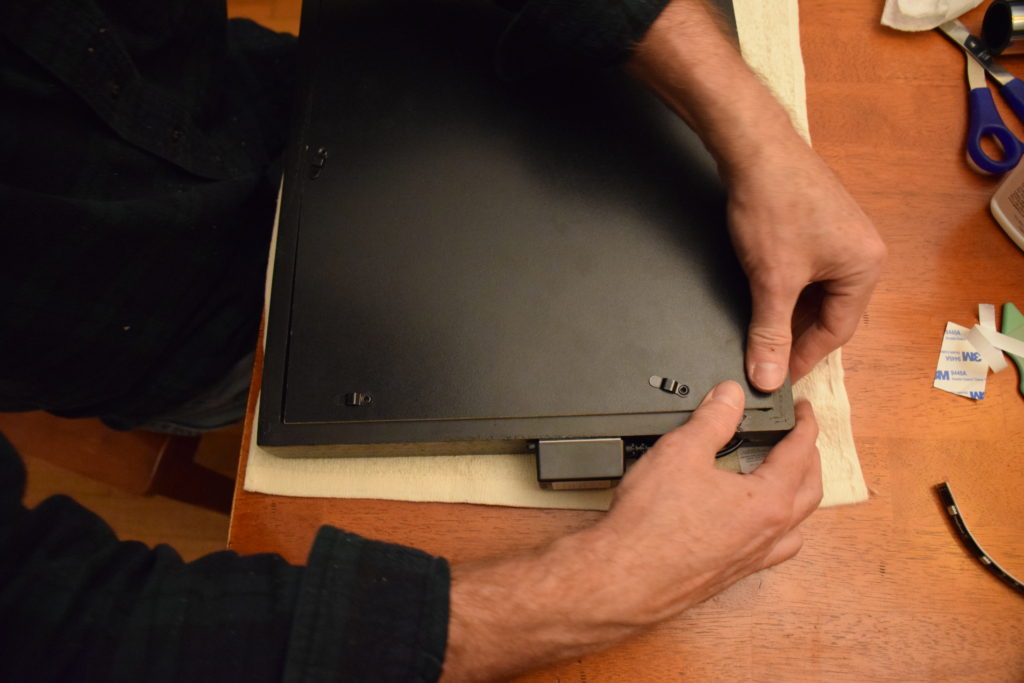
Glue the mirror to the existing back of the frame with a strong glue or epoxy, and let it cure. Then clean the mirror, set the mirrored backing into the frame and seal the back. If you intend to hang it on the wall, now’s the time to add a picture hanger.
And finally …
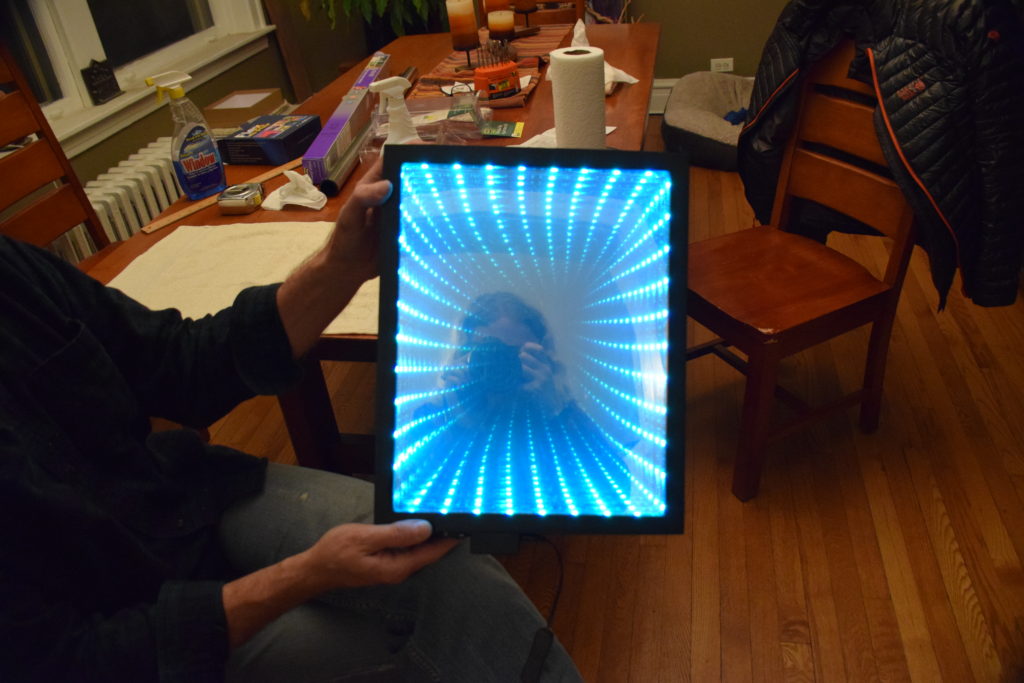
Turn on the lights and enjoy your infinity mirror! Our LED strips came with a remote that allows us to choose the color of lights and whether or not they fade from one color to another. We spent a lot of time playing with these.
Final Thoughts
For all that the process took longer than anticipated, it was so satisfying to see the light being reflected and bouncing back and forth between the mirror! It has also been fun to watch audiences respond to the infinity mirror as they come to see the show, and getting to know that with a friend and an afternoon, we put together something that brings so much joy and curiosity.
To read more about how an infinity mirror works, this blog has a great illustration.
Good luck if you choose to make your own (and pro tip: get a pre-cut mirror!)